How to Take Great Portraits with the Canon T2i (550D)
With just a couple tweaks to the Canon Rebel T2i and the right lens, beginners can turn ordinary people shots into amazing portraits…portraits that make family and friends say “Wow!”
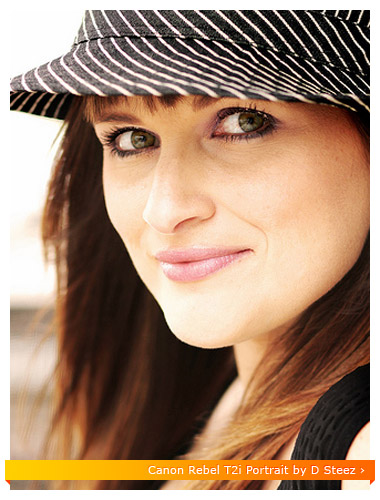
- Quickly setup the T2i for portraits
- How to get a blurred background
- Manual Portrait Settings
- Basic portrait photography tips
- Best portrait lenses for the Canon T2i
How to quickly setup the T2i for portraits
Portrait Mode on the Canon Rebel T2i
The easiest way to start taking portraits with the T2i is to enable portrait mode. You can activate portrait mode by rotating the mode dial to the portrait icon.
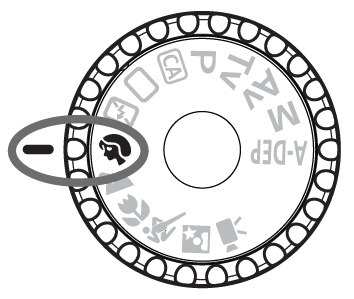
In this mode the Rebel T2i will automatically select the lowest available aperture f-number. You might be thinking to yourself, “Ok Moose, so what does that mean?”
Well without getting into a lengthy discussion about aperture, the basic idea is that the lower f-numbers will isolate your subject and create a wonderful blurred background effect.
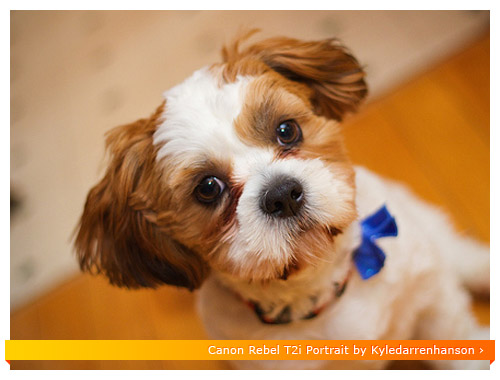
A higher aperture f-number will put everything into focus, including your subject and their surroundings.
 Here’s a quick tip while shooting in Portrait Mode: If you hold down the shutter button, the T2i will automatically enable burst mode (also called continuous mode). This will allow you to snap off a series of photos at 3.7 shots per second. The cool thing about this mode is that you can capture natural expressions and spontaneous moments before and after your subject looks towards you. You’ll be surprised at the amount of photos that turn out to be “keepers”. Some of the best portraits are captured when the subject has no idea you’re taking the picture. Try it out!
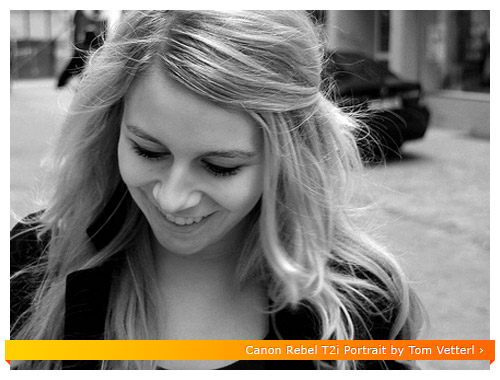
Portrait Mode Tips for the T2i
- Create some distance between your subject and the background. This distance will help put your subject into focus, while the background is blurred.
- Use a telephoto lens and zoom all the way into your subject. This will create a very shallow depth of field. Depth of field is basically the range at which your subject is in focus. So with a shallow depth of field, things like hair and ears start to appear slightly out of focus which is great for putting the focus on the eyes or a smile. Check out my list of recommended portrait lenses for the Canon T2i.
- When focusing on your subject, half press the shutter button and focus on their face or eyes. Once the autofocus point flashes red, you’re ready to take the portrait.
Shooting Portraits at Night with the T2i
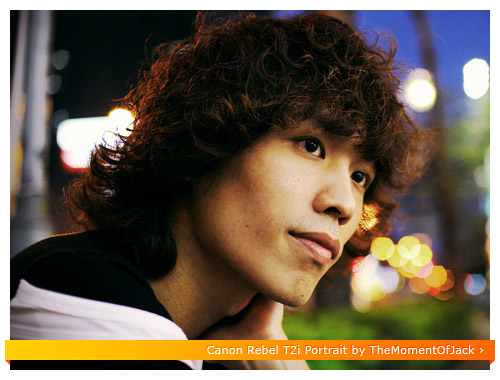
Have you ever taken portraits at night where your subject is blasted by the on-board flash and the background is completely black? In night portrait mode, the Canon Rebel T2i exposes the background and your subject to give a more natural looking portrait in low light situations.
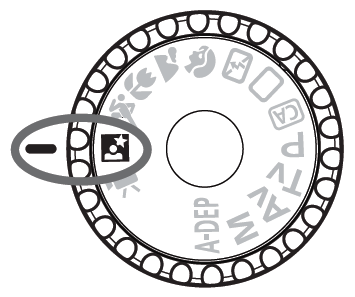
You can enable the night portrait mode by rotating the mode dial to the icon with the little person next to a star.
I highly recommend using a tripod (like this one) while in night portrait mode with the T2i. The reason for this is to reduce “camera shake” or blurriness due to camera movement. Night portrait mode requires longer shutter speeds which can make it very hard to keep the camera still.
If you’re planning on purchasing a tripod I recommend you start with the Dolica 62-inch Proline Tripod. This is a great starter tripod for beginners. It’s cheap, lightweight and portable…plus the build quality is outstanding.
Night Portrait Mode Tips for the T2i
- Use a tripod to reduce “camera shake”.
- Try stay away from using the on-board flash to create more natural looking photos in low light situations.
- If you’re using flash, keep your subject within 5 to 10 feet of the Rebel T2i so they are well lit.
- When focusing on your subject, half press the shutter button and focus on their face or eyes. Once the autofocus point flashes red, you’re ready to take the portrait.
- Make sure your subject remains very still, even after the flash has fired to reduce blurriness.
Most pro photographers would shoot me, and I don’t mean with a camera, for recommending the portrait modes on the Rebel T2i versus setting up the camera manually. These modes are actually quite useful in everyday life and can help you to quickly capture those once in a lifetime moments.
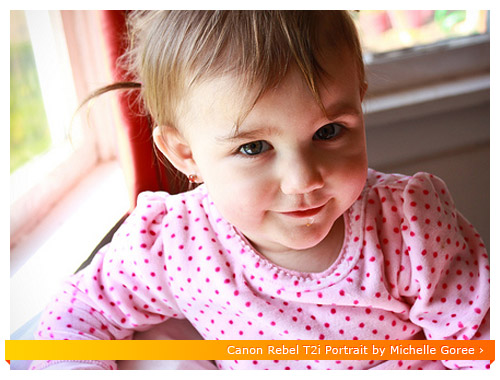
Manual Portrait Settings
If you’re looking to get out of Auto and experiment with Aperture, Shutter Speed and ISO while taking portraits, then check out my Cheat Cards for the Canon T2i (550D) that tell you exactly which settings and modes to use for taking portraits in both bright outdoor light and low light situations.

How do you blur the background behind your subject?
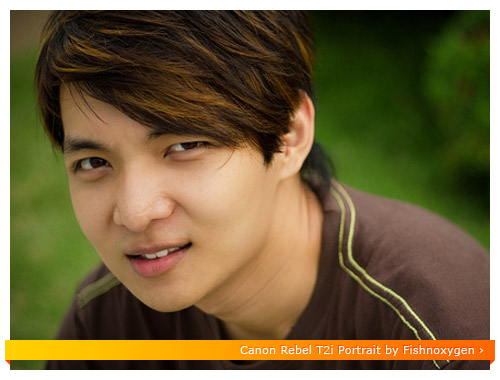
In order to blur the background behind your subject, you will need to do three things…
- Create some distance between your subject and their surroundings – You can create distance between your subject and their background by just asking them to walk towards the camera.
- Zoom all the way into your subject – Depth of field will become more narrow, giving you a more pronounced blur effect surrounding your subject. You’ll also benefit from lens compression, which will enhance the facial features of your subject and make them look more pleasing.
- Use a telephoto lens with a very low aperture f-number – By using a telephoto lens with a low aperture f-number, somewhere around f/1.8 to f/2.8, you’ll be able to isolate your subject from their surroundings. With the focus locked on their face, anything slightly behind them or in front of them will be out of focus…this is also called a shallow depth of field. Check out my recommended portrait lenses for the T2i.
Basic Portrait Photography Tips for the T2i
Here are some very simple portrait photography tips to remember when shooting with your Canon T2i…
Don’t leave to much room above the head
When framing your shot don’t leave too much space around your portrait. In fact, try zooming all the way in and cutting off the very top of the portrait.
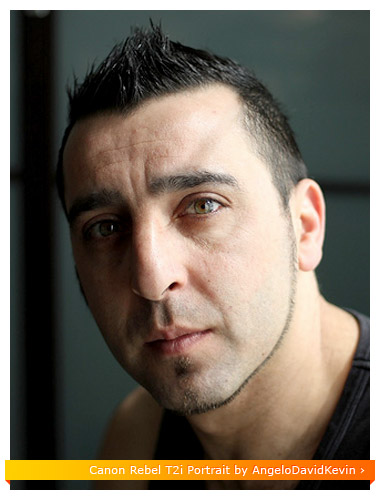
Shoot portraits vertically
Rotate the T2i so that the frame is vertical with your subject. You can also try angling the T2i just slightly to give a more dynamic look to your photos. You might try adding the T2i battery grip to help with shooting vertically. It really helps you stabilize the camera and is also great for those who have larger hands.

Backlit portraits
Instead of making your subjects stare into the sun, just put the sun to their backs and activate the on-board flash. The flash will lightly illuminate their faces, giving you a more natural looking photo without all of the squinting and harsh shadows.
Use window light
Window light is often used by pro photographers to capture beautiful, natural looking portraits.
Shoot side profiles horizontally
Create some space in front of the profile, you don’t want your portrait staring at the edge of the picture, you want them looking into it.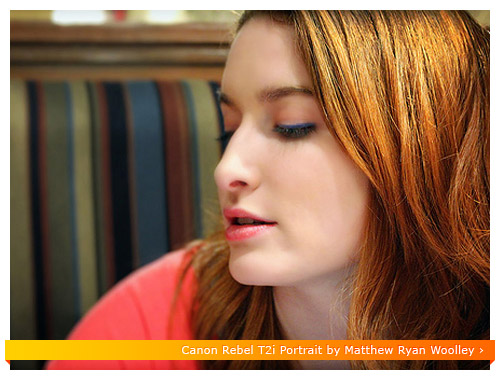
Best Canon Rebel T2i Lenses for Portrait Photography
The Canon EF 85mm f/1.8 USM is one of the best “portrait” lenses you can buy.
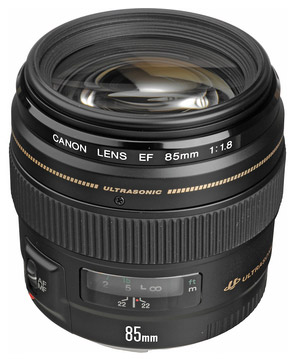
Many pro photographers use this lens for portrait photography. It renders some of the smoothest looking “bokeh” you’ll ever see. Bokeh is a fancy word for the blurry goodness that occurs in front and behind your subject. This lens is also great for sports. You can shoot at very high shutter speeds, both outdoors and indoors, which is great for “freezing” the action. Just in case you were wondering, the 85mm f/1.8 is one of my favorite lenses of all-time. Here’s a sampling of portraits taken with the Canon 85mm f/1.8: flickr gallery
The Canon EF 50mm f/1.8 II is a great starter lens for those wanting to experiment with portrait photography.
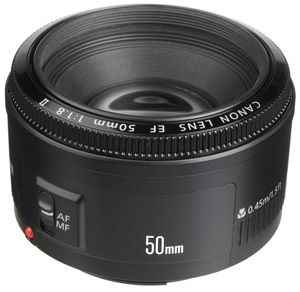
For around $100 bucks, this lens is capable of taking some amazing portraits. When you shoot at f/1.8 this lens captures those wonderful blurred backgrounds behind your subject. The only negative is that this lens is not very sharp at f/1.8. This is actually a good thing for portrait photography. A softer portrait hides blemishes and gives the image a very natural look. Here’s a sampling of portraits taken with the Canon 50mm f/1.8: flickr gallery
I hope you enjoyed this T2i tip-torial…happy shooting!
